Education & Advice
Build your Own 200mm Inline Fan Kit
Customise your own inline fan kit using our quick and easy page! This kit is based on a 200mm inline system.
Quickly add each component to your shopping cart. Once you are finished simply view your shopping cart for your summary.
STEP 1: SELECT YOUR INTAKE VENT
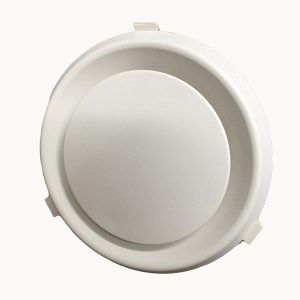
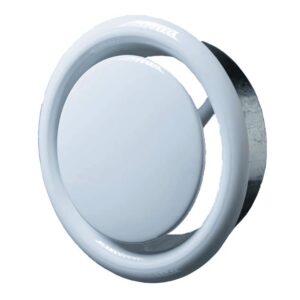
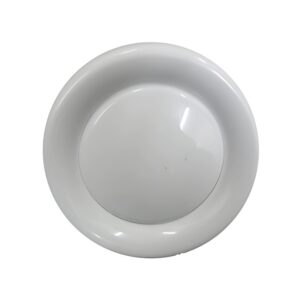
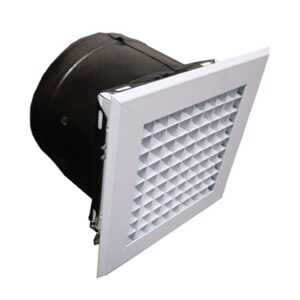
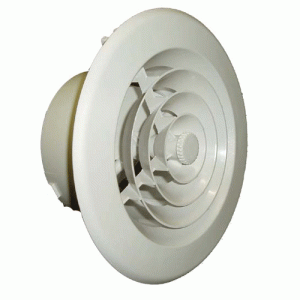
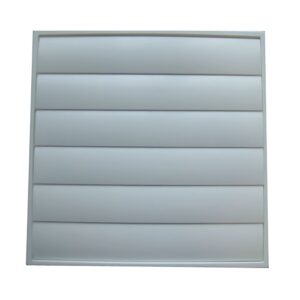
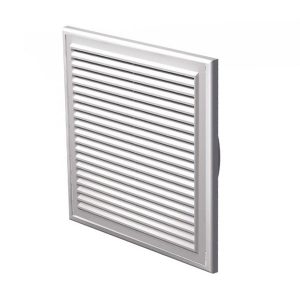
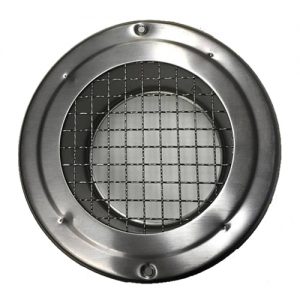
Select which vent you would like to use as the intake vent. This is the vent that is placed in the room you wish to ventilate. We have a range of both plastic and metal vents. All vents below come with a 200mm diameter flange suitable for connecting to 200mm diameter ducting.
STEP 2: SELECT YOUR DUCT & RELATED ACCESSORIES
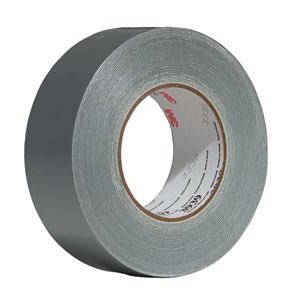
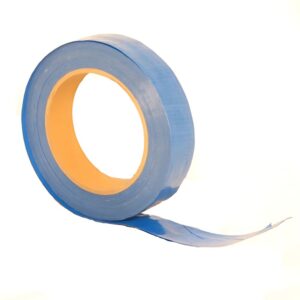
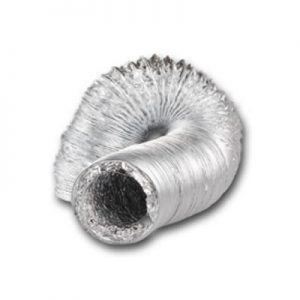
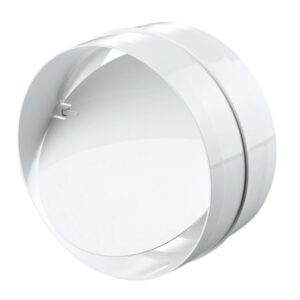
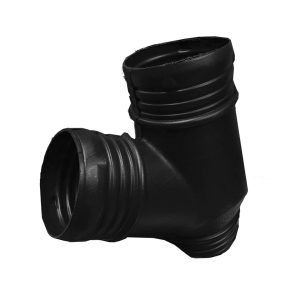
Select the amount of ducting that you require. We usually recommend duct tape to join everything together. A backdraft shutter can also be added, which will ensure the system is closed when the fan is not in operation.
STEP 3: SELECT YOUR MOTOR
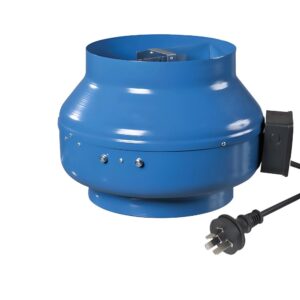
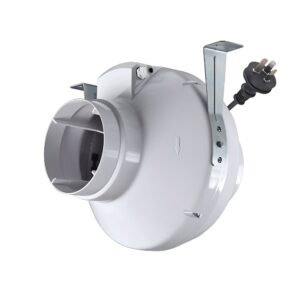
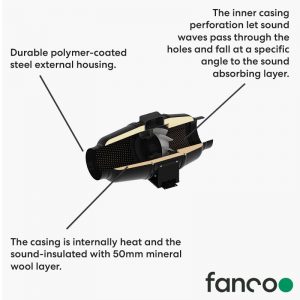
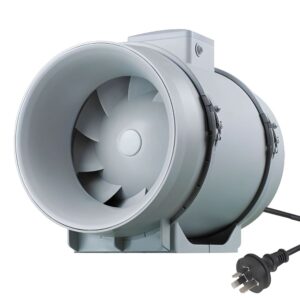
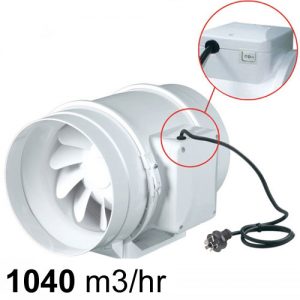
Select the motor you wish to use in your inline fan kit. The TT silent is a popular option – as the name suggests it operates very quietly! All motors come with a lead and plug attached, meaning they will conveniently plug into a powerpoint.
STEP 4: SELECT YOUR OUTLET VENT
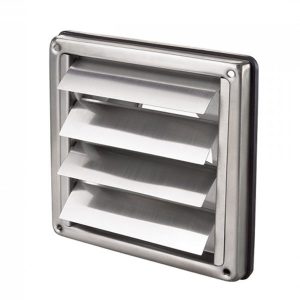
Select which vent you would like to use as the outlet vent. These are designed to go on the outside of the wall or under an eave. If you wish to ventilate the system through the roof we also sell roof cowl kits for this purpose.
PROCESS COMPLETE! CLICK HERE TO VIEW YOUR CART
Disclaimer – The information provided on this page is designed to be a guide – it is the customers responsibility to ensure the correct fan is selected based on the customers needs and application. It is also the customers responsibility to thoroughly read the technical specs prior to ordering. For example all vents will have varying cut out sizes and dimensions. This page is intended to be a quick and easy area for an individual to view all available components when constructing a heat transfer system for their needs and does not constitute specific advice.

